Cloud Computing with ACCESS-ci and Jetstream2
02 Apr 2024Background
Most bioinformatics software runs on Linux or unix (including Mac) operating systems. For this class we will work in a Linux environment. Since the computer lab machines and many students’ computers run Windows this presents a problem. To overcome this problem we will run Linux in a virtual cloud environment.
Specifically we will use Jetstream2. Jetstream2 is a cloud computing resource provider in partnership with NSF’s ACCESS program. We will run virtual Linux machines (Instances) on Jetstream2 servers and then use a virtual network connection (VNC) to display the “desktop” of the virtual machine to be displayed on our local computer.
If you are curious about what version of Linux we are using and how we created the Jetstream2 virtual machine, please see this document.
Getting Started with Jetstream2
We have gone ahead and created an instance for each person. This will be your own virtual sandbox where you will explore the computational environment and complete the lab assignments.
Connecting to your Instance
There are two possible ways to connect to your instance.
- Using a Virtual Network Connection(VNC). A VNC connection allows the screen of your virtual machine to be displayed on the screen of your local computer. With a VNC you will be able to interact with your virtual machine as if it was in front of you. We will use our web browsert do display the desktop of our virtual machine.
- Using a secure shell(ssh) text connection. This allows you to send and receive text from your virtual machine’s linux “console”. A SSH connection is a good choice if your network connection is slow or if you don’t need any graphical display.
Connect to your instance via VNC
VNC connections work on a client/server model. Your virtual machine is the server because it serves its graphical display. Your local machine is the client.
Your virtual machine has an Internet Protocol (IP) address that identifies it on the internet. To connect to your virtual machines VNC server we need to tell your web browser its address.
- Use the IP address that sent to you to modify the URL below.
Base url: https://http-149-165-XXX-XXX-49528.proxy-js2-iu.exosphere.app/guacamole
replace the “XXX-XXX” with the corresponding numbers from the IP address that was sent to you. So if you were sent exouser@149.165.153.225, then the URL to connect to your virtual mahine would be:
https://http-149-165-153-225-49528.proxy-js2-iu.exosphere.app/guacamole
Modify the base URL for YOUR machine’s IP address. Save this somewhere that you can access for future labs (or email it to yourself)
- Open a web browser and enter the address you created
- You should see a screen like this:
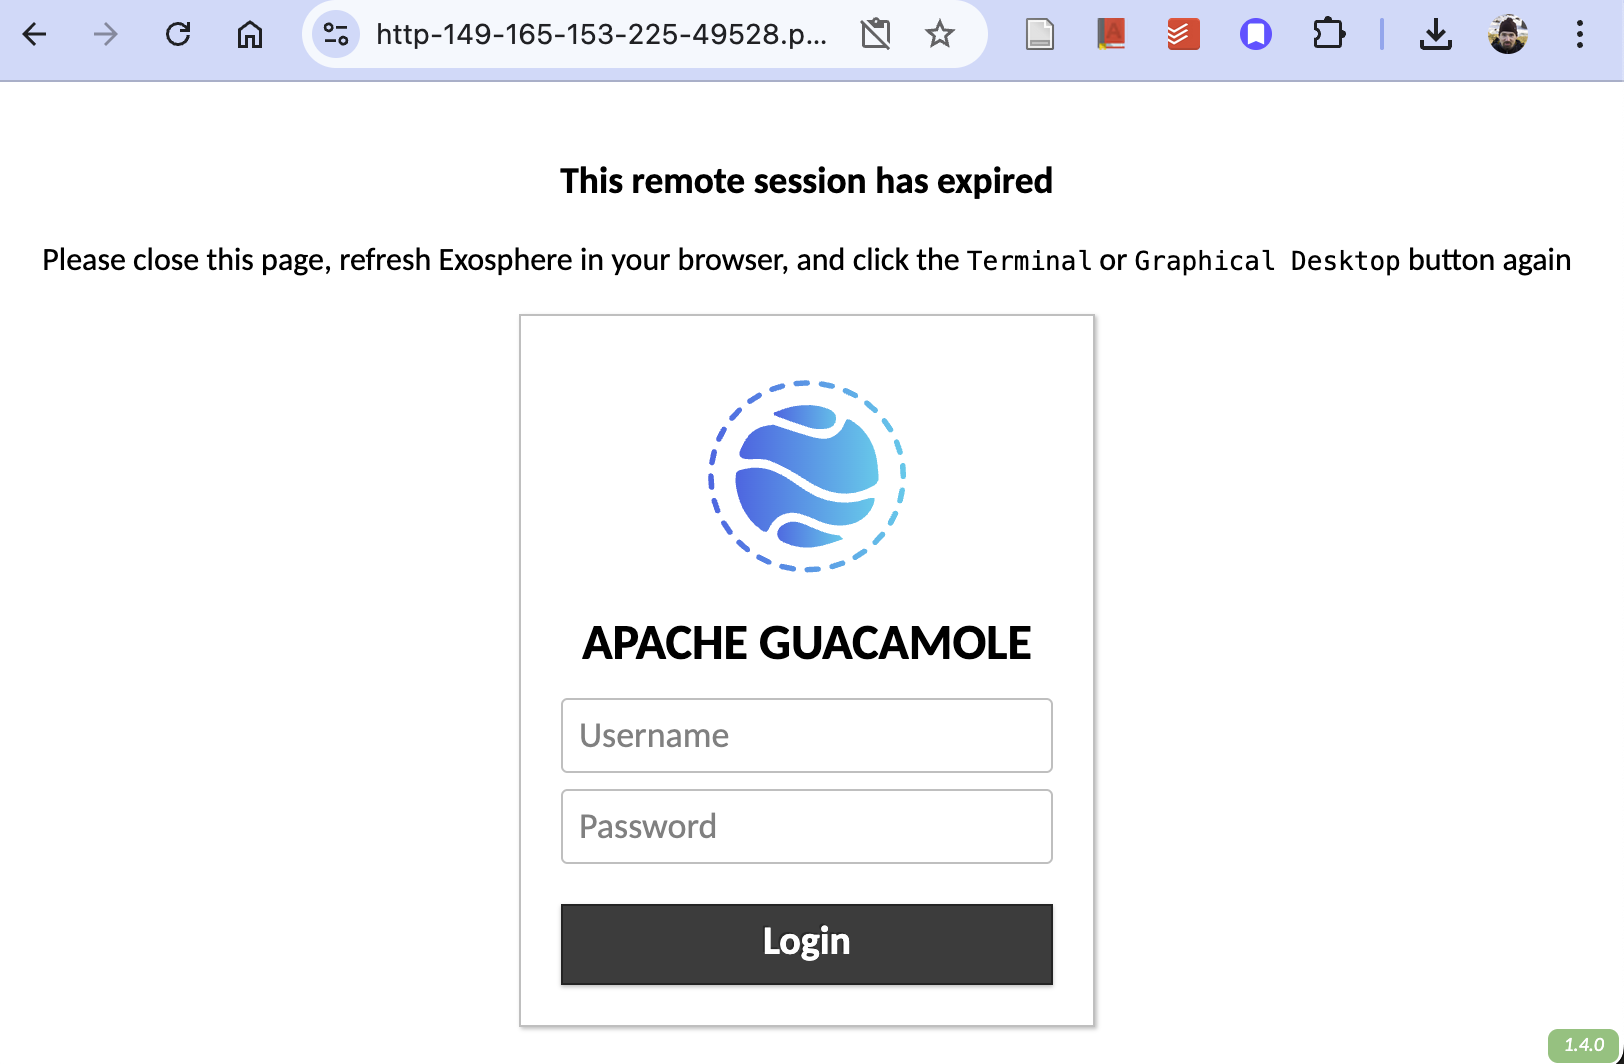
- Enter
exouseras the username. Enter the passphrase that was sent to you. - Click on
Desktopon the next screen.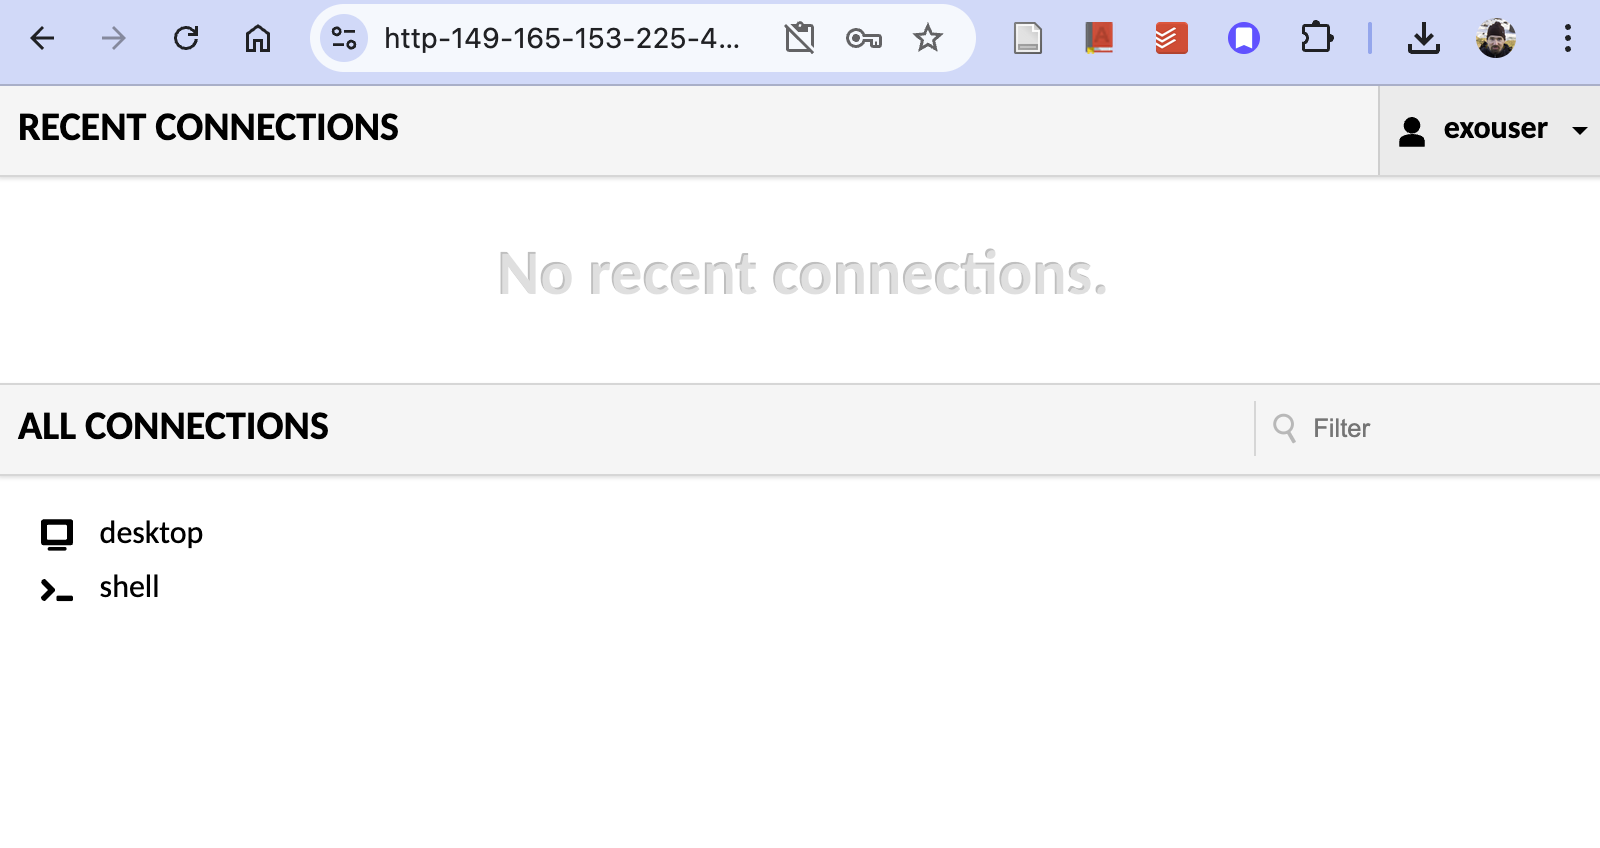
- The window now displays the desktop of your virtual Linux machine. Nifty!
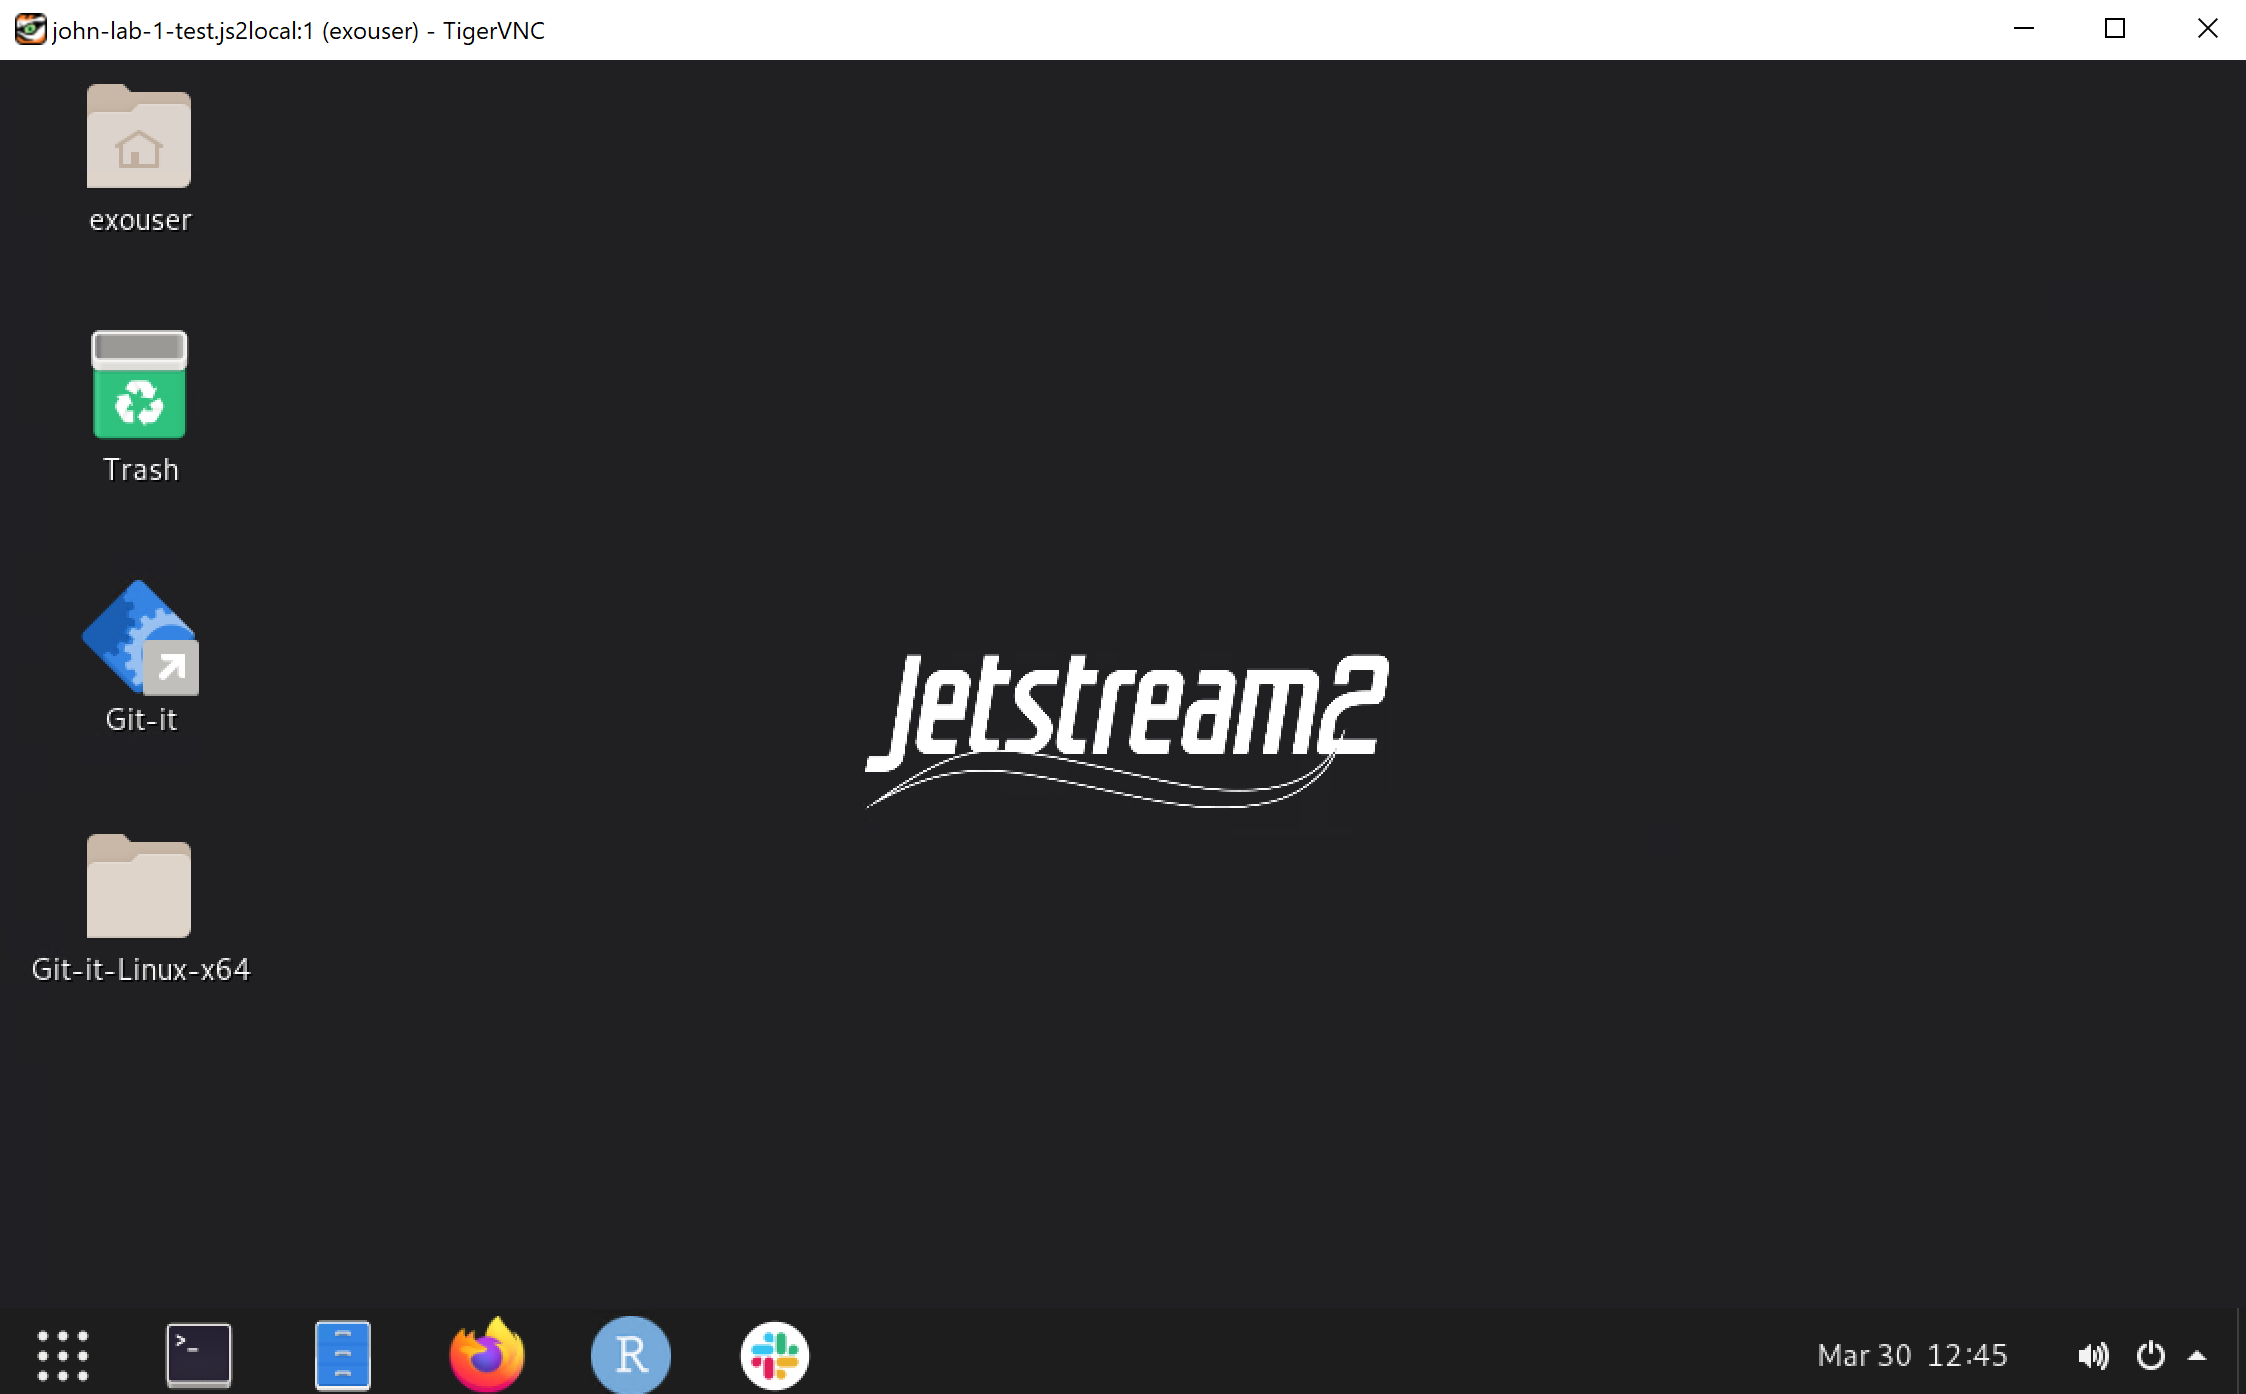
- The icons at the bottom do/open the following (from L to R):

- Open an Interface to show all applications
- Open help for the Ubuntu desktop
- Open the file explorer (a bit slow)
- Open Firefox
- Open Rstudio
- Open Terminal, where you will do all your command line work
- Open github Desktop
- Open Slack
Connect to your instance via SSH
You can learn how to connect to your instance via an SSH text connection. While not necessary for this class after this initial setup, this would be the standard way to connect to a Linux server for many people. It is much better when the network is slow or your VNC connection is not working.
For a windows computer see the section immediately below. If you are using a Mac (or Linux) computer to connect please skip to the “Connecting to your Instance via SSH” section.
Windows
There are many ways to connect to your instance via SSH on a Windows computer. Each method has its pros and cons depending on how you plan to use your instance. For Windows users we will be using Git Bash.
If you already have a different method to SSH into your instance, feel free to use that instead.
Git Bash
Git Bash can be found on the lab computers by typing “Git Bash” in the search bar in the bottom left corner of your desktop
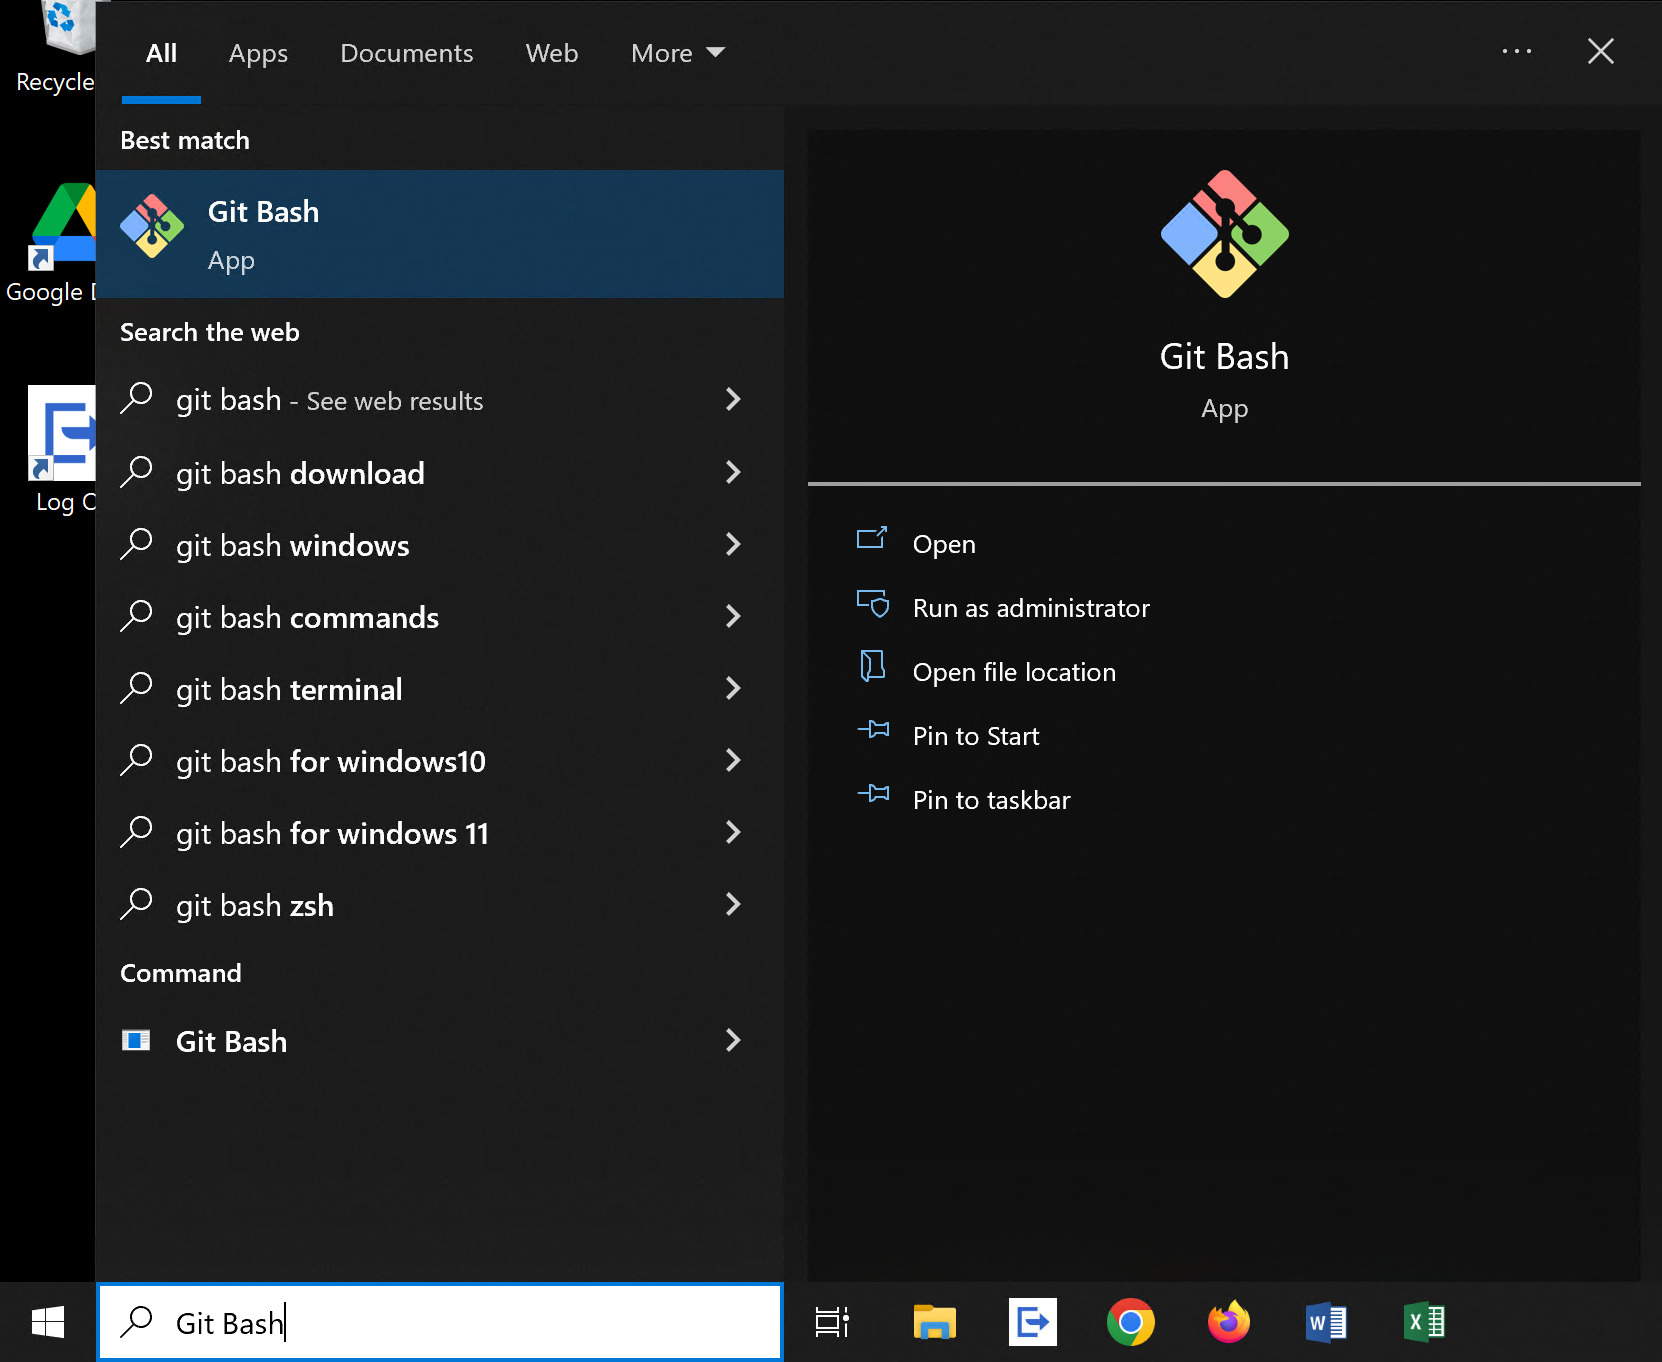
Clicking to on the top hit should open a window like the one below
Connecting to your Instance via SSH
Connecting to your instance is easy and quick. If you are on a Mac using Terminal, the steps should mostly be the same
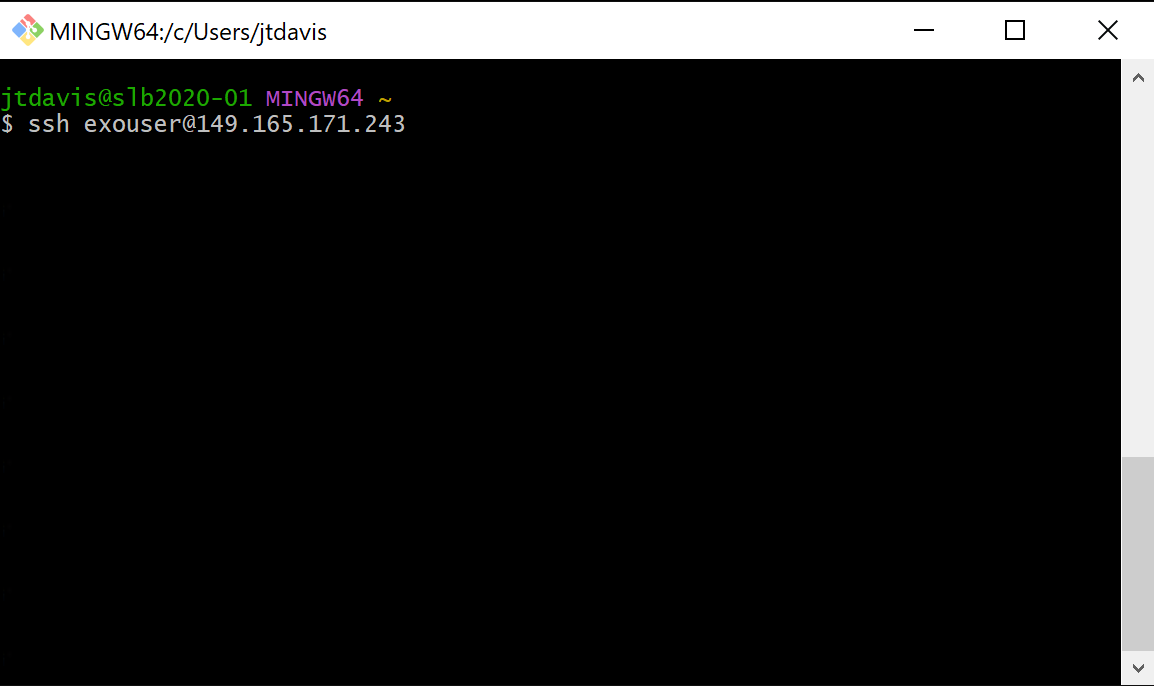
- Open Git Bash (or Terminal if using Mac) on your Computer
- Enter “ssh exouser@” and the provided ip address in first textbox and then hit Enter.
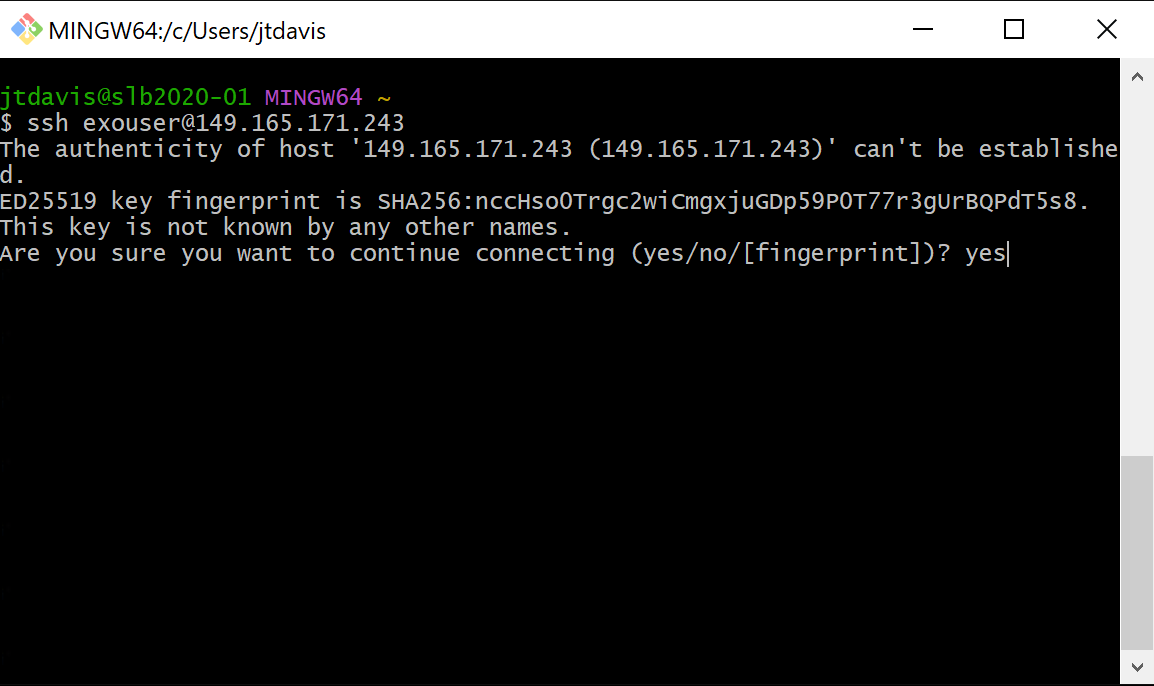
- You will be greeted with a security warning, type “yes” then hit Enter
- Enter the provided password and hit enter. When entering your new passwords, it will appear as if nothing is being entered. This is on purpose so no one physically looking at your screen can see what you are typing.
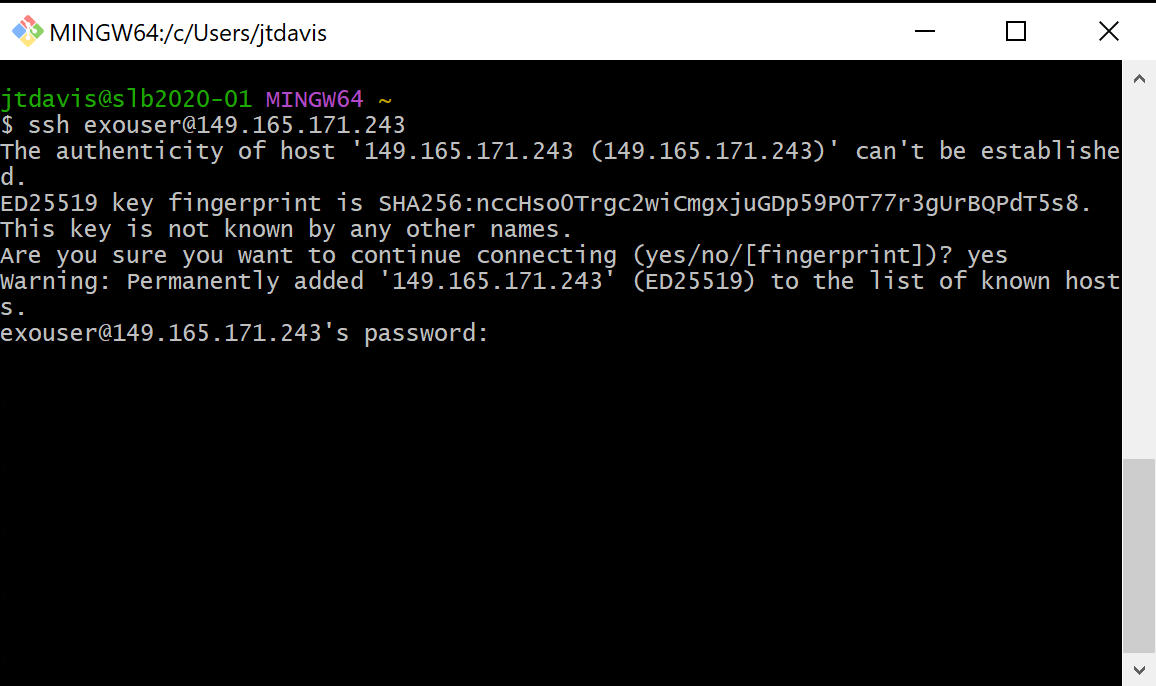 If you copy your password with control-c, you can paste it quickly by right clicking on the Git Bash window and selecting paste
 - You are now connected to your instance
Security
Changing your passphrase is a little involved but is possible. If you want to change your password please ask your instructor.