Turning in Assignments
02 Apr 2024Overview
We will use git to turn in assignments.
I will send a link via Canvas for each assignment and/or place it in the lab manual. The link will ask you to logon to GitHub and join the BIS180L classroom. I can demo this during class if needed.
For each assignment click on the link and follow instructions below to create your own repository for the assignment.
Remember to use Rstudio or the command line to git add files that you create or change, git commit your changes and git push. DO THIS VERY OFTEN! That way if something goes wrong you won’t have lost any work.
Make your final pushes before the assignment due date.
You can check your repo on GitHub.com to make sure that your latest changes have been uploaded.
Projects in RStudio
Rstudio allows you to work in projects to help you keep your files organized. Furthermore it allows these projects to be associated with a github repository. This is how we will work on each assignment in this class. Below I show you how to create an Rstudio project for Assignment 01 by creating and cloning your Assignment 01 repo.
Example: Assignment 1
Accept the assignment link to create a Gihub repo
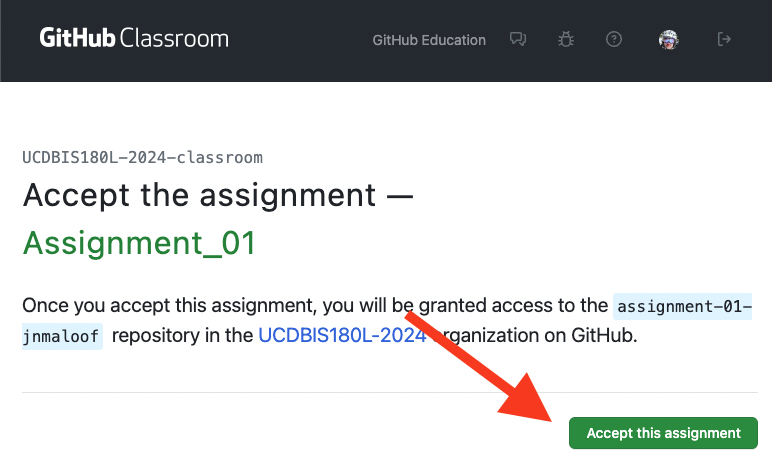
On the assignments page, click on the assignment 1 link,
Click on the Accept This Assignment button
Refresh the next screen until you see a link to your repo:
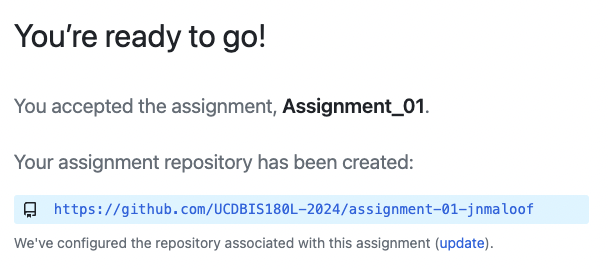
Click on the link to go to your repository for this assignment.
Clone your Assignment repo to Jetstream using Rstudio
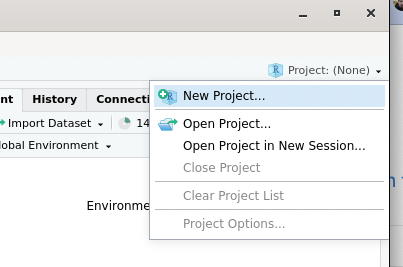
The next step is to clone it to your instance using Rstudio. Open Rstudio on your instance. Click on Project on the upper right-hand side and then New Project
Next click on Version Control

Click on Git
Now, paste in the SSH url for your repo:
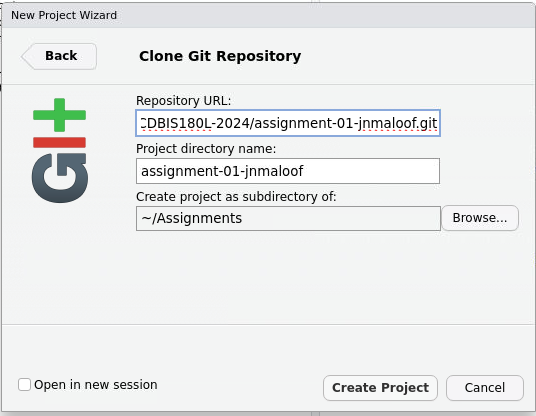
Optionally, click Browse and select or create a directory (folder) for your assignment. I am keeping mine in a directory called Assignments
Now click Create Project
Done! You now have an Rstudio Project for Assignment 01 and it is linked to your github repository.
Note: The next time that you open RStudio you may have to tell it to open your project. Click on the Project button on the upper right corner and then choose your project.
Git from Rstudio
Now that RStudio knows that you are working with a git repository you can use its built-in tools to add, commit, push, and pull.
Professor Maloof will demo Rstudio Git features in class, but if you want to review it, here is a 7 minute video version of that lecture. (If the link doesn’t work, go to Canvas > Media Gallery and look for a video titled “BIS180L RStudio git”)
Summary:
- Click on the “Git” tab in the upper right-hand pane
- Untracked files are shown with a “?”
- Files that have been modified since the last commit are shown with a “M”
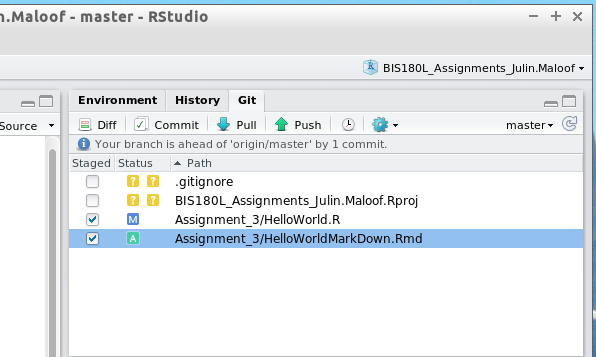
- Files that are staged to be added are shown with an “A”
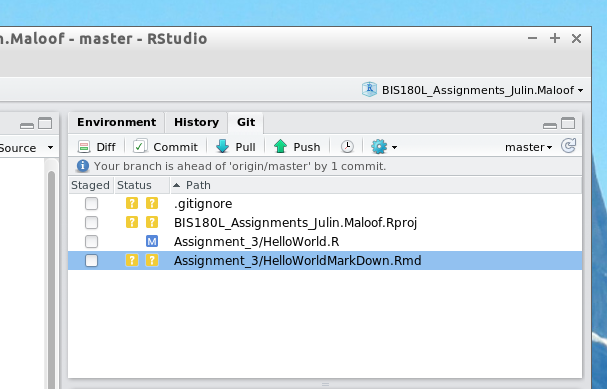
- If you want to stage a new or changed file for a commit click on the checkbox
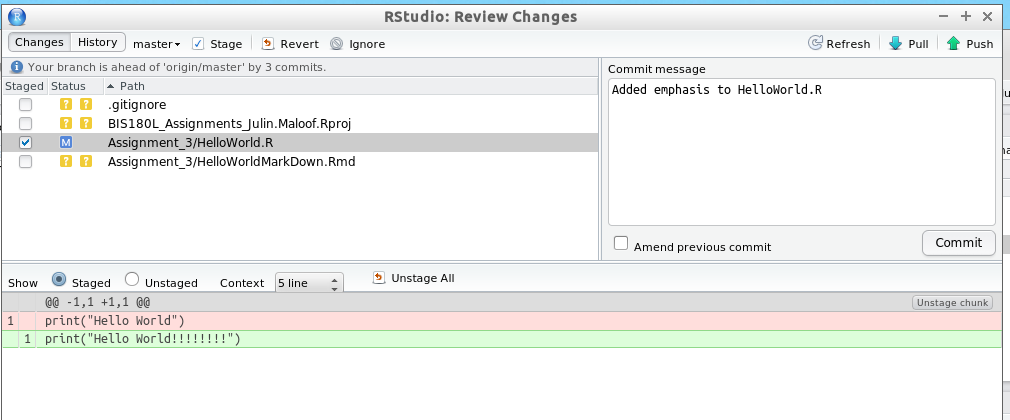
- You can then click on “commit” to open up a new window that shows you the changes
- Type a commit message in the box and press commit!
- Now press the
pushbutton to push you changes up to github. - There is also a
pullbutton to pull changes down to your instance or local computer.
Alternative: Create a project from an existing folder
BIS180L Students can skip this
If you have already cloned your repository onto you computer but want to link that to Rstudio, to the following:
- open RStudio
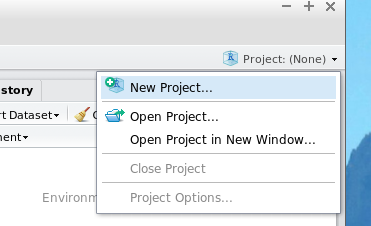
- Click on the “Project:(None)” button on the top right-hand side of the window.
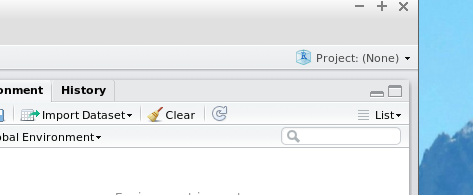
- Select “New Project”
- Select “Existing Diretory”
- Navigate to the “Assignment_3_Your.Name” directory (that you cloned from github) and select it
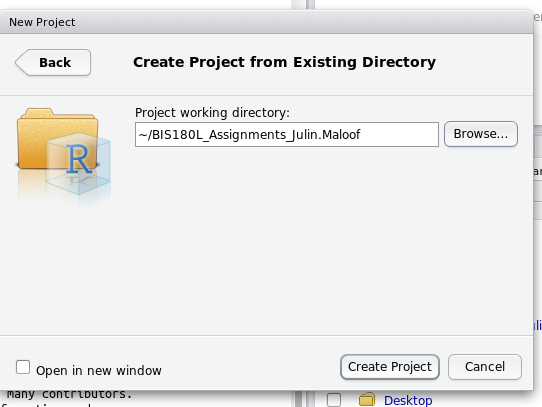
- Click on “Create Project”